How to Identify Minerals with Your Smartphone: A Beginner’s Quick-Start Guide
Found a mysterious crystal in your backyard or during a hike? Don't leave it to guesswork. While professional mineralogy often requires acid tests and hardness kits, your smartphone has enough "optical brainpower" to identify most common minerals in seconds—if you give it the right data.
This guide is your rapid 1-2-3 workflow to move from "What is this rock?" to a confident identification using the Minerals Guide app.

::: howto
Phase 1: The First Look (The Overview)
The first step is about geometry and color. Most beginners make the mistake of getting too close too fast. For the AI to recognize the habit (the natural shape) of a mineral, it needs a clear view of the entire specimen.
- Find Natural Light: Move to a window or stay outdoors. Avoid direct, harsh sunlight which creates "hot spots."
- Clear the Stage: Place the stone on a plain, neutral background (a piece of grey cardboard or a flat dark stone works best).
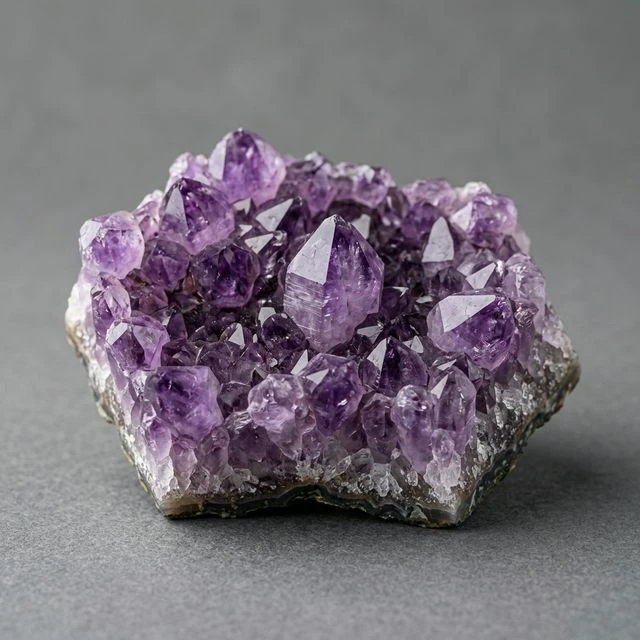
- The Shot: Hold your phone about 20 cm away. Ensure the whole stone is in the frame. This photo tells the app: "Is it cubic, hexagonal, or massive?"
Phase 2: Zooming In (The Macro)
Now we need to see the "DNA" of the stone: its texture and cleavage planes (how it breaks).
- The Pro Trick: Do not move your phone closer than 10 cm, or it will struggle to focus. Instead, stay back and use your phone's 2x optical zoom.
- What to Capture: Focus on a single edge or a flat crystal face. We are looking for tiny parallel lines (striations) or the way light bounces off the surface (luster).
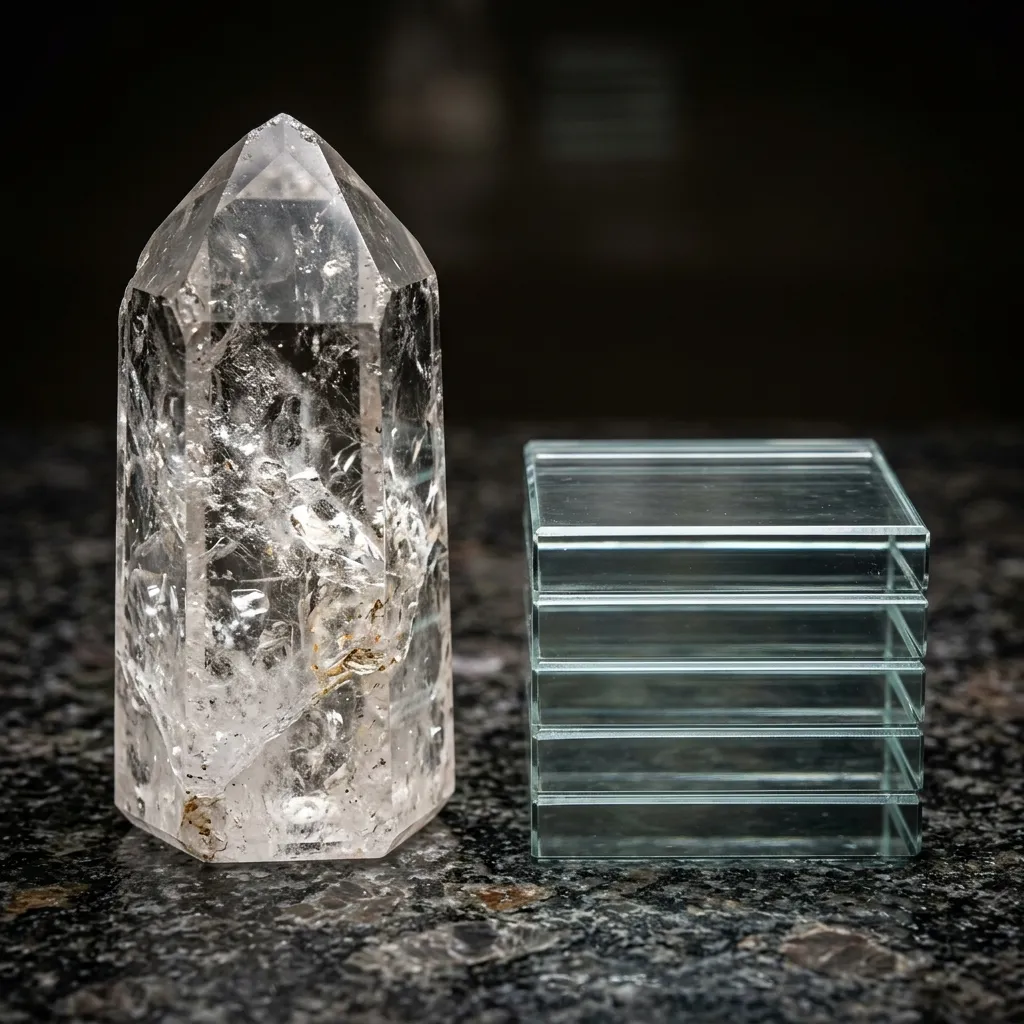
- The Shot: This close-up tells the app: "Is it metallic like Pyrite or glassy like Quartz?"
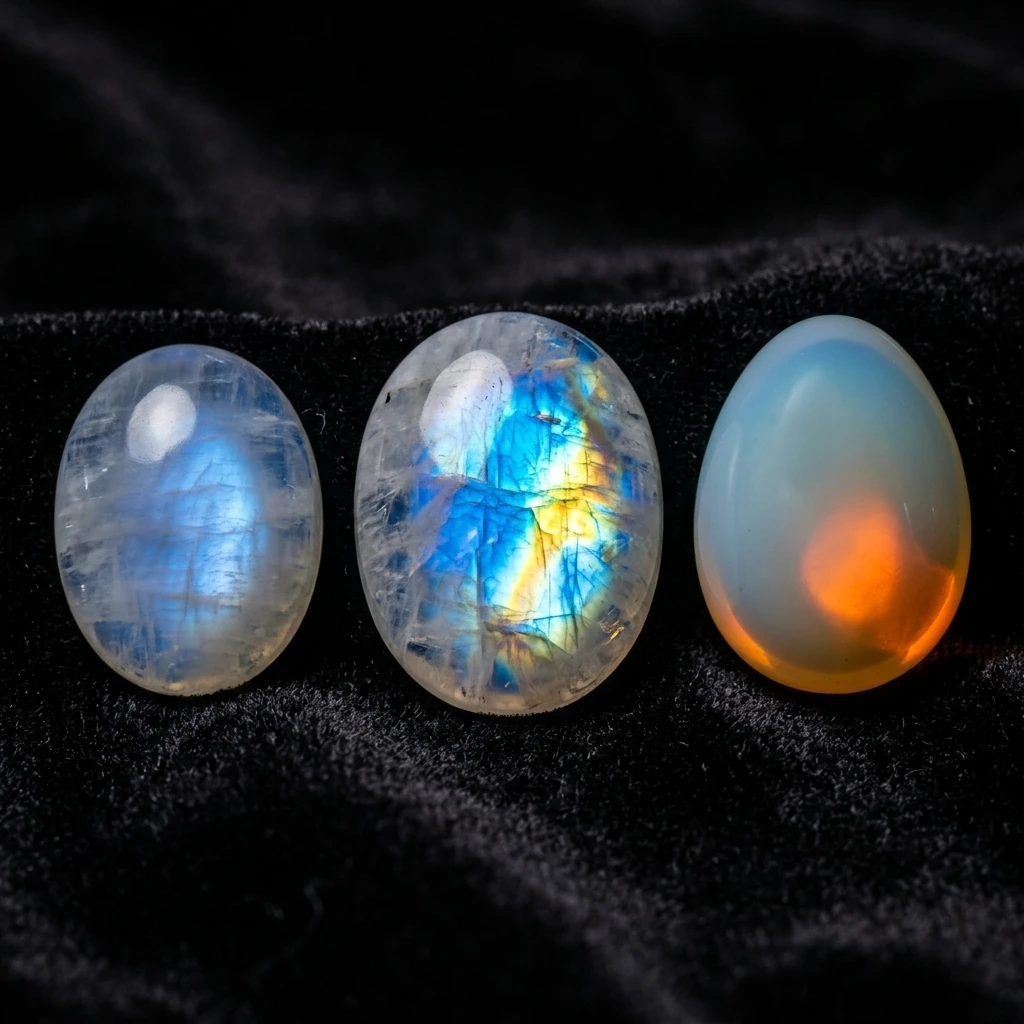
Phase 3: The Lights (The Backlit)
This is the "secret weapon" for identifying gemstones and translucent minerals like Fluorite or Agate. Many rocks look like "plain grey stones" until you shine a light through them.
- Flashlight Setup: Turn on your phone's flashlight (or use another phone).
- The Technique: Place the mineral directly on top of the light source or hold it up so light passes through it toward the camera.
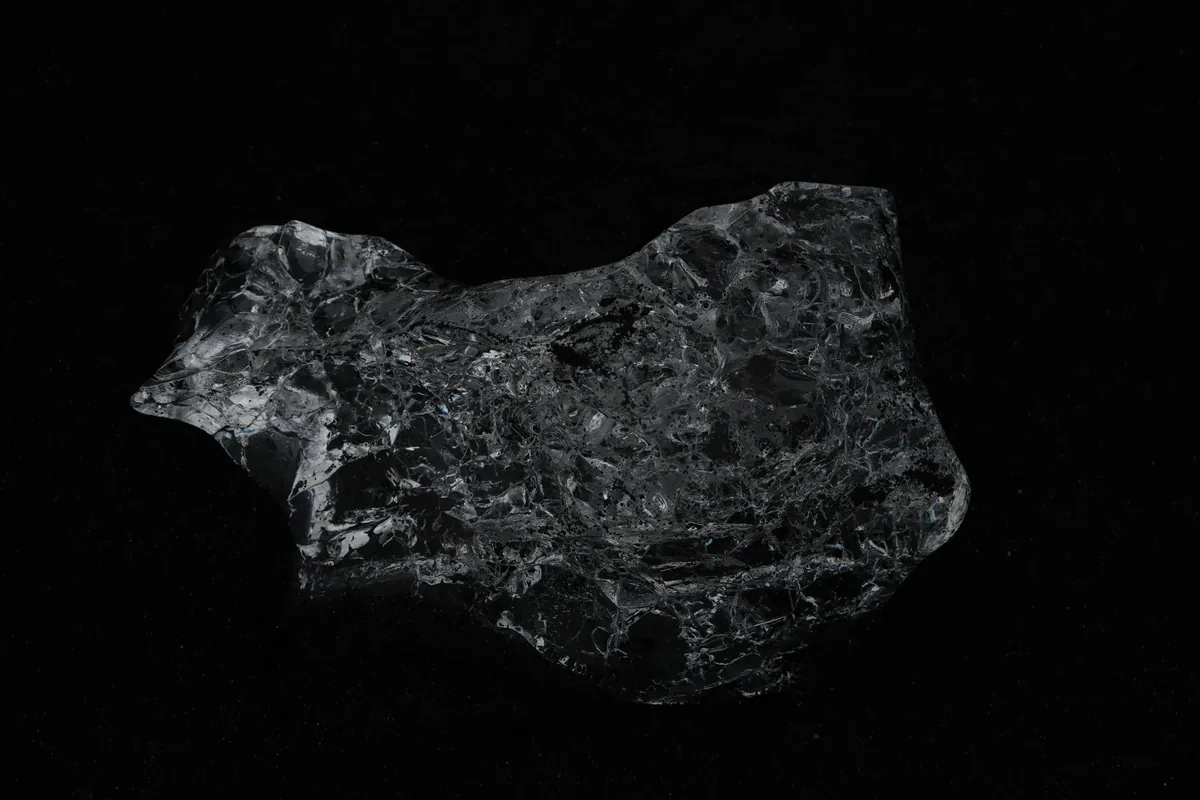
- What it reveals: Internal bubbles, color zoning, and hidden inclusions that are invisible from the front.
- The Shot: This "transmission" photo tells the app: "Is it solid obsidian or a translucent geode?"
:::
From Photos to Facts: The Minerals Guide App
Once you have these three specific shots, you don't need a degree in geology. The Mineral Identifier App uses a "Triple-Analysis" engine. It correlates the geometry from your Overview, the texture from your Macro, and the optical density from your Backlit shot to cross-reference thousands of specimens in its database.
It’s the difference between a random guess and scientific accuracy—right in your pocket.
Mineral Identification Checklist
Use the tool below to ensure you've gathered all the evidence needed for a 100% accurate identification.


Available in other languages
- enStep-by-step Guide: How to Identify Minerals with Your Smartphone
- ru Пошаговое руководство: Как определить минералы с помощью смартфона
- es Guía paso a paso: Cómo identificar minerales con tu smartphone
- fr Guide étape par étape : Comment identifier les minéraux avec votre smartphone
- de Schritt-für-Schritt-Anleitung: Wie man Mineralien mit dem Smartphone bestimmt
- it Guida passo dopo passo: Come identificare i minerali con o tuo smartphone
- pt Guia passo a passo: Como identificar minerais com o seu smartphone
- pl Przewodnik krok po kroku: Jak identyfikować minerały smartfonem
- uk Покроковий посібник: Як ідентифікувати мінерали смартфоном
- tr Akıllı Telefonla Mineral Tanımlama: Adım Adım Kılavuz
- sv Steg-för-steg-guide: Så identifierar du mineraler med din smartphone
- no Trinn-for-trinn-guide: Slik identifiserer du mineraler med smarttelefonen
- hi स्मार्टफोन से खनिजों की पहचान कैसे करें: चरण-दर-चरण मार्गदर्शिका
- id Panduan Langkah demi Langkah: Cara Mengidentifikasi Mineral dengan Smartphone Anda
Frequently Asked Questions
How can I improve the accuracy of my mineral identification using a smartphone?
Ensure you have bright, natural lighting, clean your camera lens, use a neutral background (like gray or white paper), include a scale reference, and provide photos of the specimen's texture, luster, and transparency—three specific photos (overview, macro, and backlit) are recommended for 100% results.
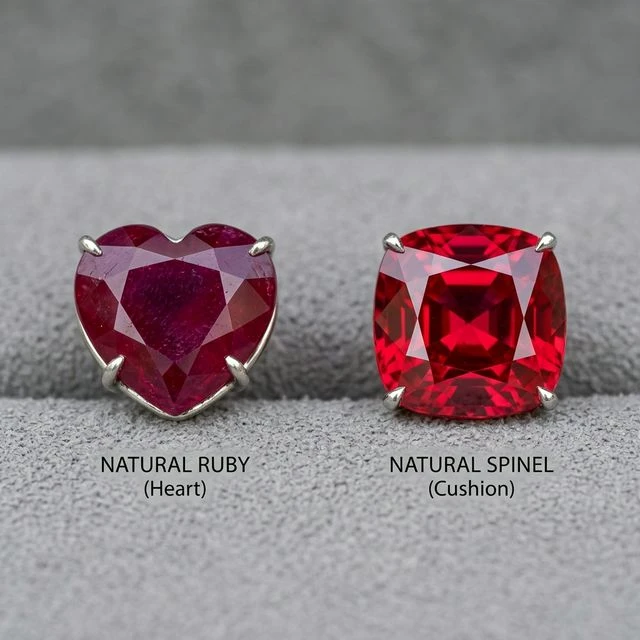
Can I use my smartphone to identify minerals inside jewelry?
Identification of mounted gemstones is more challenging because settings can obscure key features like crystal habit and transparency; try to use macro mode for surface luster and backlit photos (using a thin LED flashlight behind the stone) to see internal inclusions, then compare the app results with known gemstone properties.
What smartphone features or accessories improve identification success?
A macro lens for close detail, a small ring or directional LED light to reduce shadows, a polarizing filter to cut reflections, a tripod or stable mount to avoid blur, and enabling GPS/geotagging so apps can use location. For advanced work, handheld spectrometers or external attachments add chemical/optical data.
What simple at-home tests can I perform to confirm an app's mineral suggestion?
Do a streak test on unglazed porcelain, test hardness with glass/steel/fingernail to bracket Mohs hardness, try a magnet for magnetic minerals, look for cleavage vs fracture with a hand lens, and (carefully) apply a drop of dilute hydrochloric acid to check for carbonates—always wear eye protection, ventilate, and avoid unsafe tests on valuable or protected specimens.
When should I rely on a professional lab or geologist instead of a smartphone app?
If the mineral is fine-grained, altered, gem-quality, chemically similar to others, or the ID has legal/health implications (e.g., asbestos, ore samples), or you need precise composition, consult a geologist or lab for microscopy, XRD, or chemical analysis—apps are a starting point, not a substitute for professional testing.