Expert Mineral Photography: How to Capture Professional ID Shots with Your Phone
I’ve seen too many blurry, grey-looking rocks uploaded by collectors who are frustrated that an AI or a human expert can't identify their find. The truth is, your smartphone is a scientific-grade tool, but it wasn't built to differentiate between a piece of slag and a raw sapphire. It's built for faces and cats.
To get a diagnostic-quality shot—one that actually captures the crystal habit, the luster, and the internal optics—you need to stop using your phone like a point-and-shoot. Here is my field-tested guide to capturing mineral photos that get results, specifically refined for the Minerals Guide recognition engine.
The Secret to Lighting: Killing the Glare
The biggest mistake? Using the built-in flash. It creates "hot spots" (specular highlights) that mask the surface's true texture.
- The Paper Diffuser: If you must use a light source, place a single sheet of white tissue paper or a thin T-shirt in front of the lamp. This transforms harsh light into a soft "glow" that highlights the crystal's natural luster.
- Neutral Ground: Use a matte grey or dark blue background. For more professional macro crystal photography, I recommend using a piece of black velvet or dark slate; these materials absorb light instead of reflecting it, making the mineral’s colors pop. White paper often reflects too much light, tricking your phone's auto-exposure into making the mineral looks like a black silhouette.

The "Standard Three" Angle Method
When I'm identifying a specimen for the Minerals Guide database, I always require three specific shots. This isn't just about being thorough—it's about gathering optical data that a single angle can't provide.
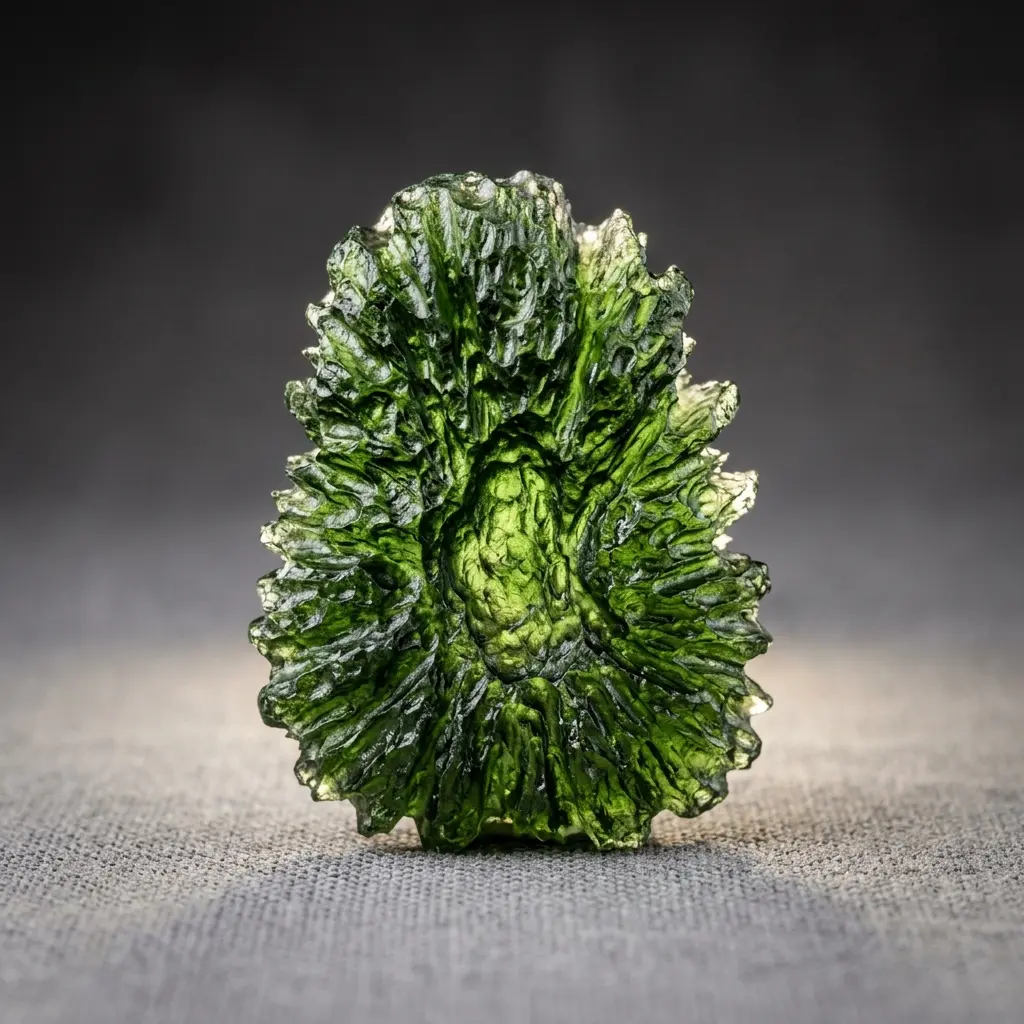
1. The Overview (The Habit)
This shot is about geometry. We need to see the habit—the general shape the crystal takes. Is it cubic? Hexagonal? Radiating? Keep your phone about 20-30 cm away.
- Pro Tip: Use a coin for scale. Size is a critical diagnostic feature for many native elements.
2. The Macro (Luster & Cleavage)
This is where most people fail. Mobile lenses struggle to focus below 10cm.
- The Hack: Don't just get closer. Pull back slightly to keep focus, and use 2x optical zoom (if your phone has it). Avoid digital zoom, which just creates pixel soup.
- Detail: We are looking for cleavage planes (the way a mineral breaks) and striations (tiny parallel lines on the surface).

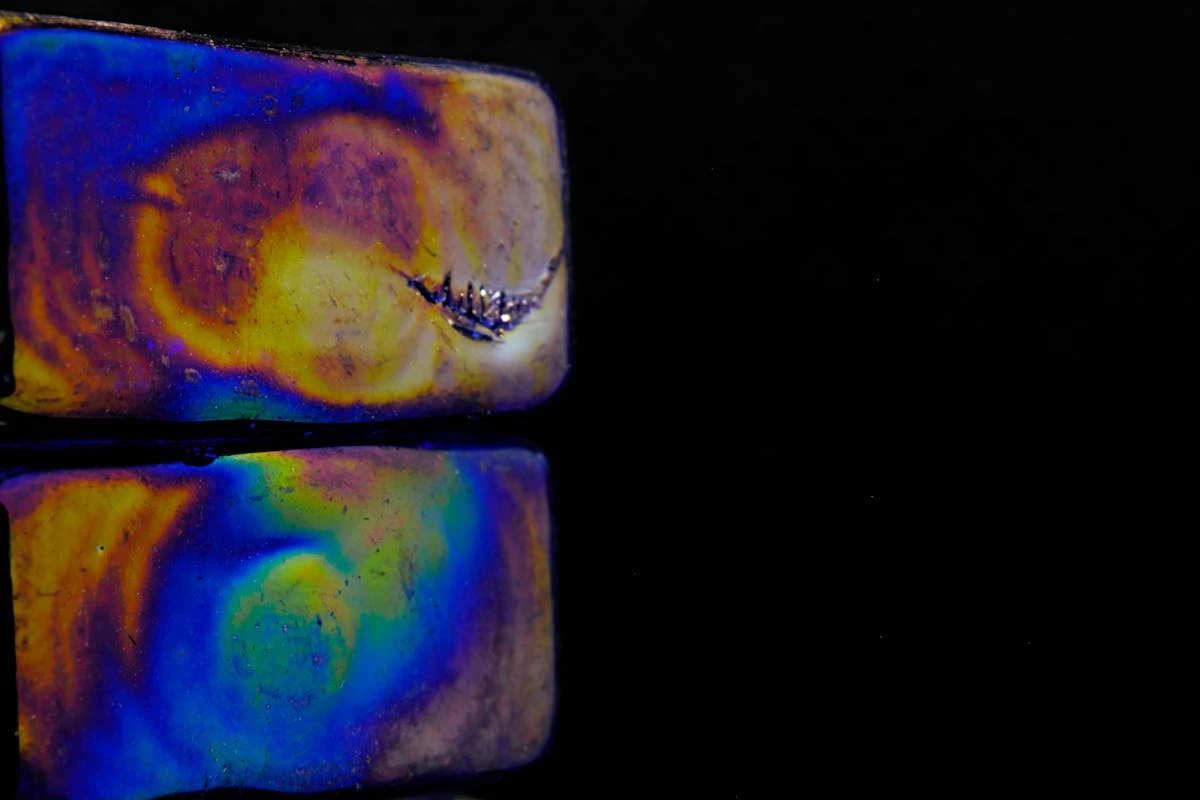
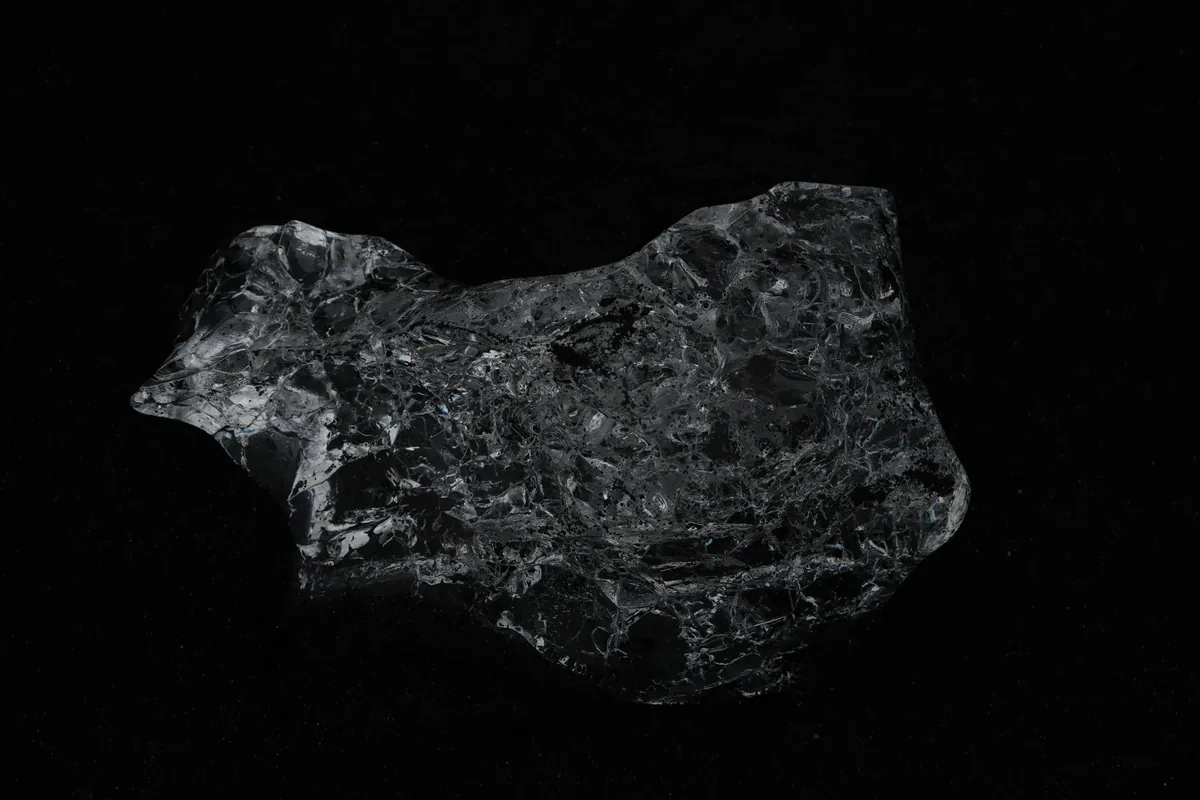
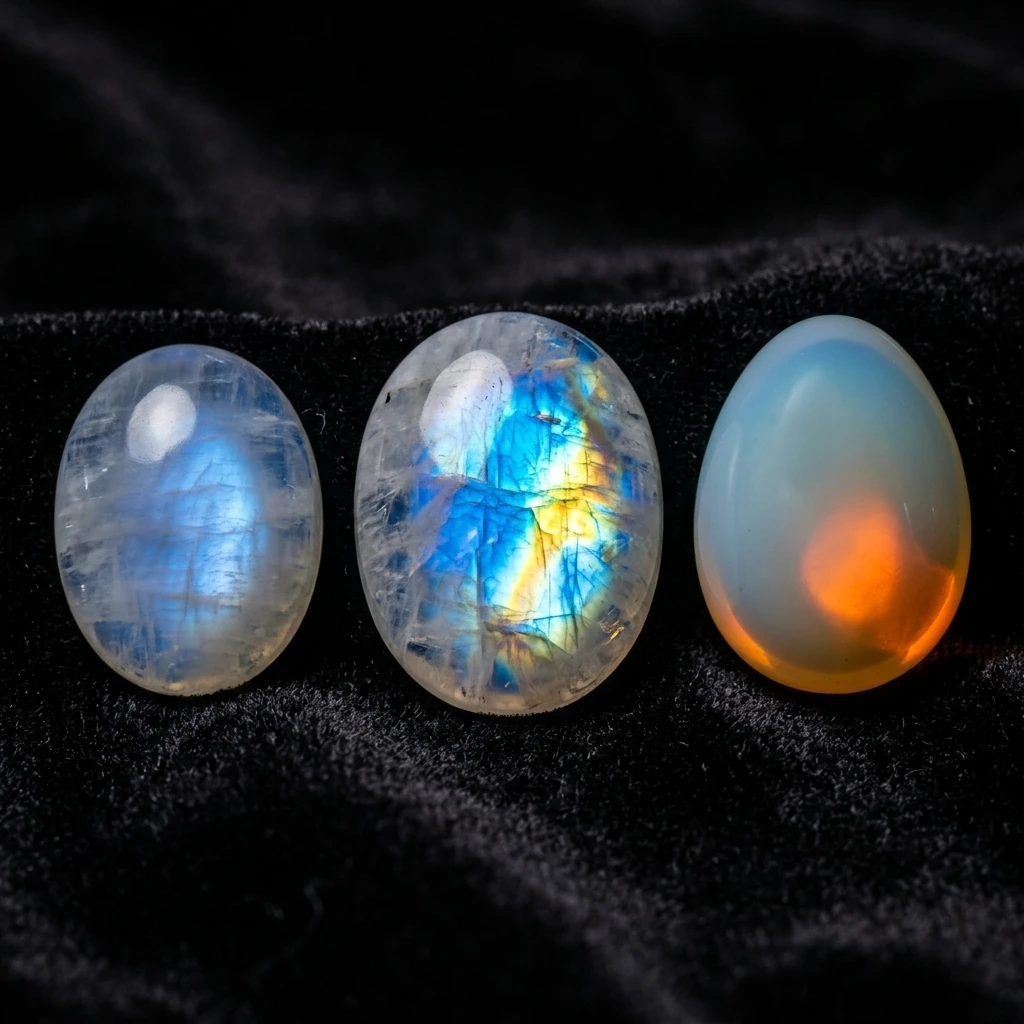
3. The Transmitted Light (Backlit)
For gemstones like emerald, ruby, or fluorite, the "front" photo is only half the story.
- What it reveals: Internal inclusions, color zoning, and translucency.
- Geode Identification: This is the best way to handle geode identification by photo. If a plain-looking rock glows purple or reveals banding when backlit, you’ve found something special (like obsidian vs. fluorite or a hollow geode vs. a solid nodule).

Handling the "Mobile Lies" (White Balance & ISO)
Your phone tries to make everything look "pretty." For a mineralogist, "pretty" is a problem if it's not accurate.
- White Balance: If you’re shooting under warm indoor light, your phone will make everything look orange. I recommend using a manual camera app and locking the White Balance to 5000K (Daylight) or using a "Grey Card."
- AE/AF Lock: Long-press on the screen to lock the exposure and focus. This prevents the "shifting brightness" that occurs when you move the stone.
Why Accuracy Matters
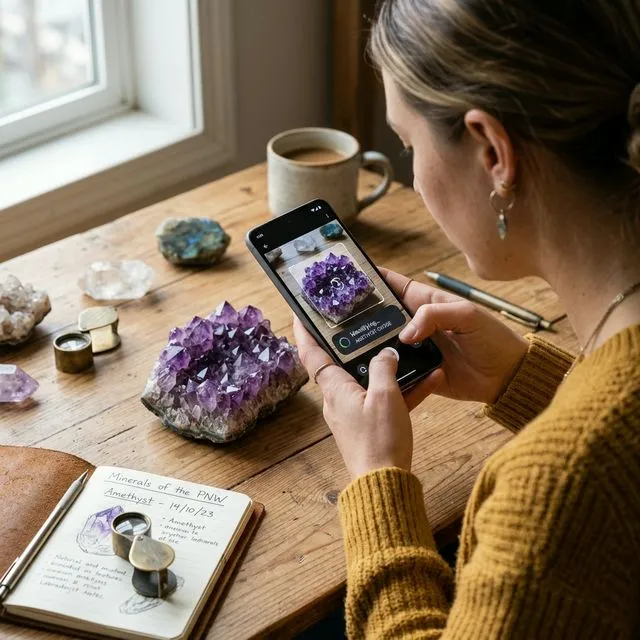
The reason I'm so pedantic about these three photos is simple: data density. When you upload these shots to the Minerals Guide App, the AI isn't just looking at color; it's correlating the habit from your Overview with the luster from your Macro and the optical density from your Backlit shot. It’s the difference between a guess and a identification you can trust.
Frequently Asked Questions (FAQ)
FAQ
Which app is best for identifying minerals from photos on Android?
Based on our field tests, the most accurate tool is the Minerals Guide App. It is specifically designed to analyze multi-angle photographic data (Overview, Macro, and Backlit), which dramatically increases the recognition accuracy for complex specimens.
Why does my mineral look like a different color on my phone screen?
This is usually a White Balance error. Smartphones automatically "correct" colors based on the light source. To fix this, use a manual camera mode to set the temperature to 5000K or photograph your specimen next to a neutral grey object for later color correction.
Can I identify gemstones like rubies just by taking a photo of them?
A single photo is rarely enough to distinguish between a ruby, a garnet, or red glass. However, using the Backlit technique described in this guide allows you to see internal inclusions and "silk," which provides critical diagnostic data for the Minerals Guide identification algorithm.
What should I do if my phone can't focus on small crystals?
Most smartphones have a minimum focus distance. Instead of moving closer, move further away until the image is sharp, then use the 2x optical zoom. For even better results, consider a clip-on macro lens—it’s the best $15 investment a mineral hunter can make.

Available in other languages
- enThe Ultimate Mineral Photography Guide for Accurate Identification
- ru Полное руководство по съемке минералов для точной идентификации
- es La guía definitiva de fotografía de minerales para una identificación precisa
- fr Le guide ultime de la photographie de minéraux pour une identification précise
- de Der ultimative Leitfaden zur Mineralienfotografie für eine genaue Identifizierung
- it La guida definitiva alla fotografia dei minerali per un'identificazione accurata
- pt O guia definitivo de fotografia de minerais para identificação precisa
- pl Kompletny przewodnik po fotografii minerałów dla dokładnej identyfikacji
- uk Повний посібник із фотозйомки мінералів для точної ідентифікації
- tr Doğru tanımlama için kapsamlı mineral fotoğrafçılığı kılavuzu
- sv Den ultimata guiden till mineralfotografering för exakt identifiering
- no Den ultimate guiden til mineralfotografering for nøyaktig identifisering
- hi सटीक पहचान के लिए खनिज फोटोग्राफी का अंतिम गाइड
- id Panduan Utama Fotografi Mineral untuk Identifikasi yang Akurat